While I haven’t entirely been gone from the shop for the past 3 or 4 years, life has gotten in the way of quite a few things, shop time not being the least of them. Without going into all the details, the last three years included getting divorced, changing jobs, selling and packing up a house, buying and setting up a new house, aging and ailing parents and getting a dog. I highly recommend getting a dog…the rest, not so much. Such is life, not to be pitied, rued or regretted, rather to learn from and grow.
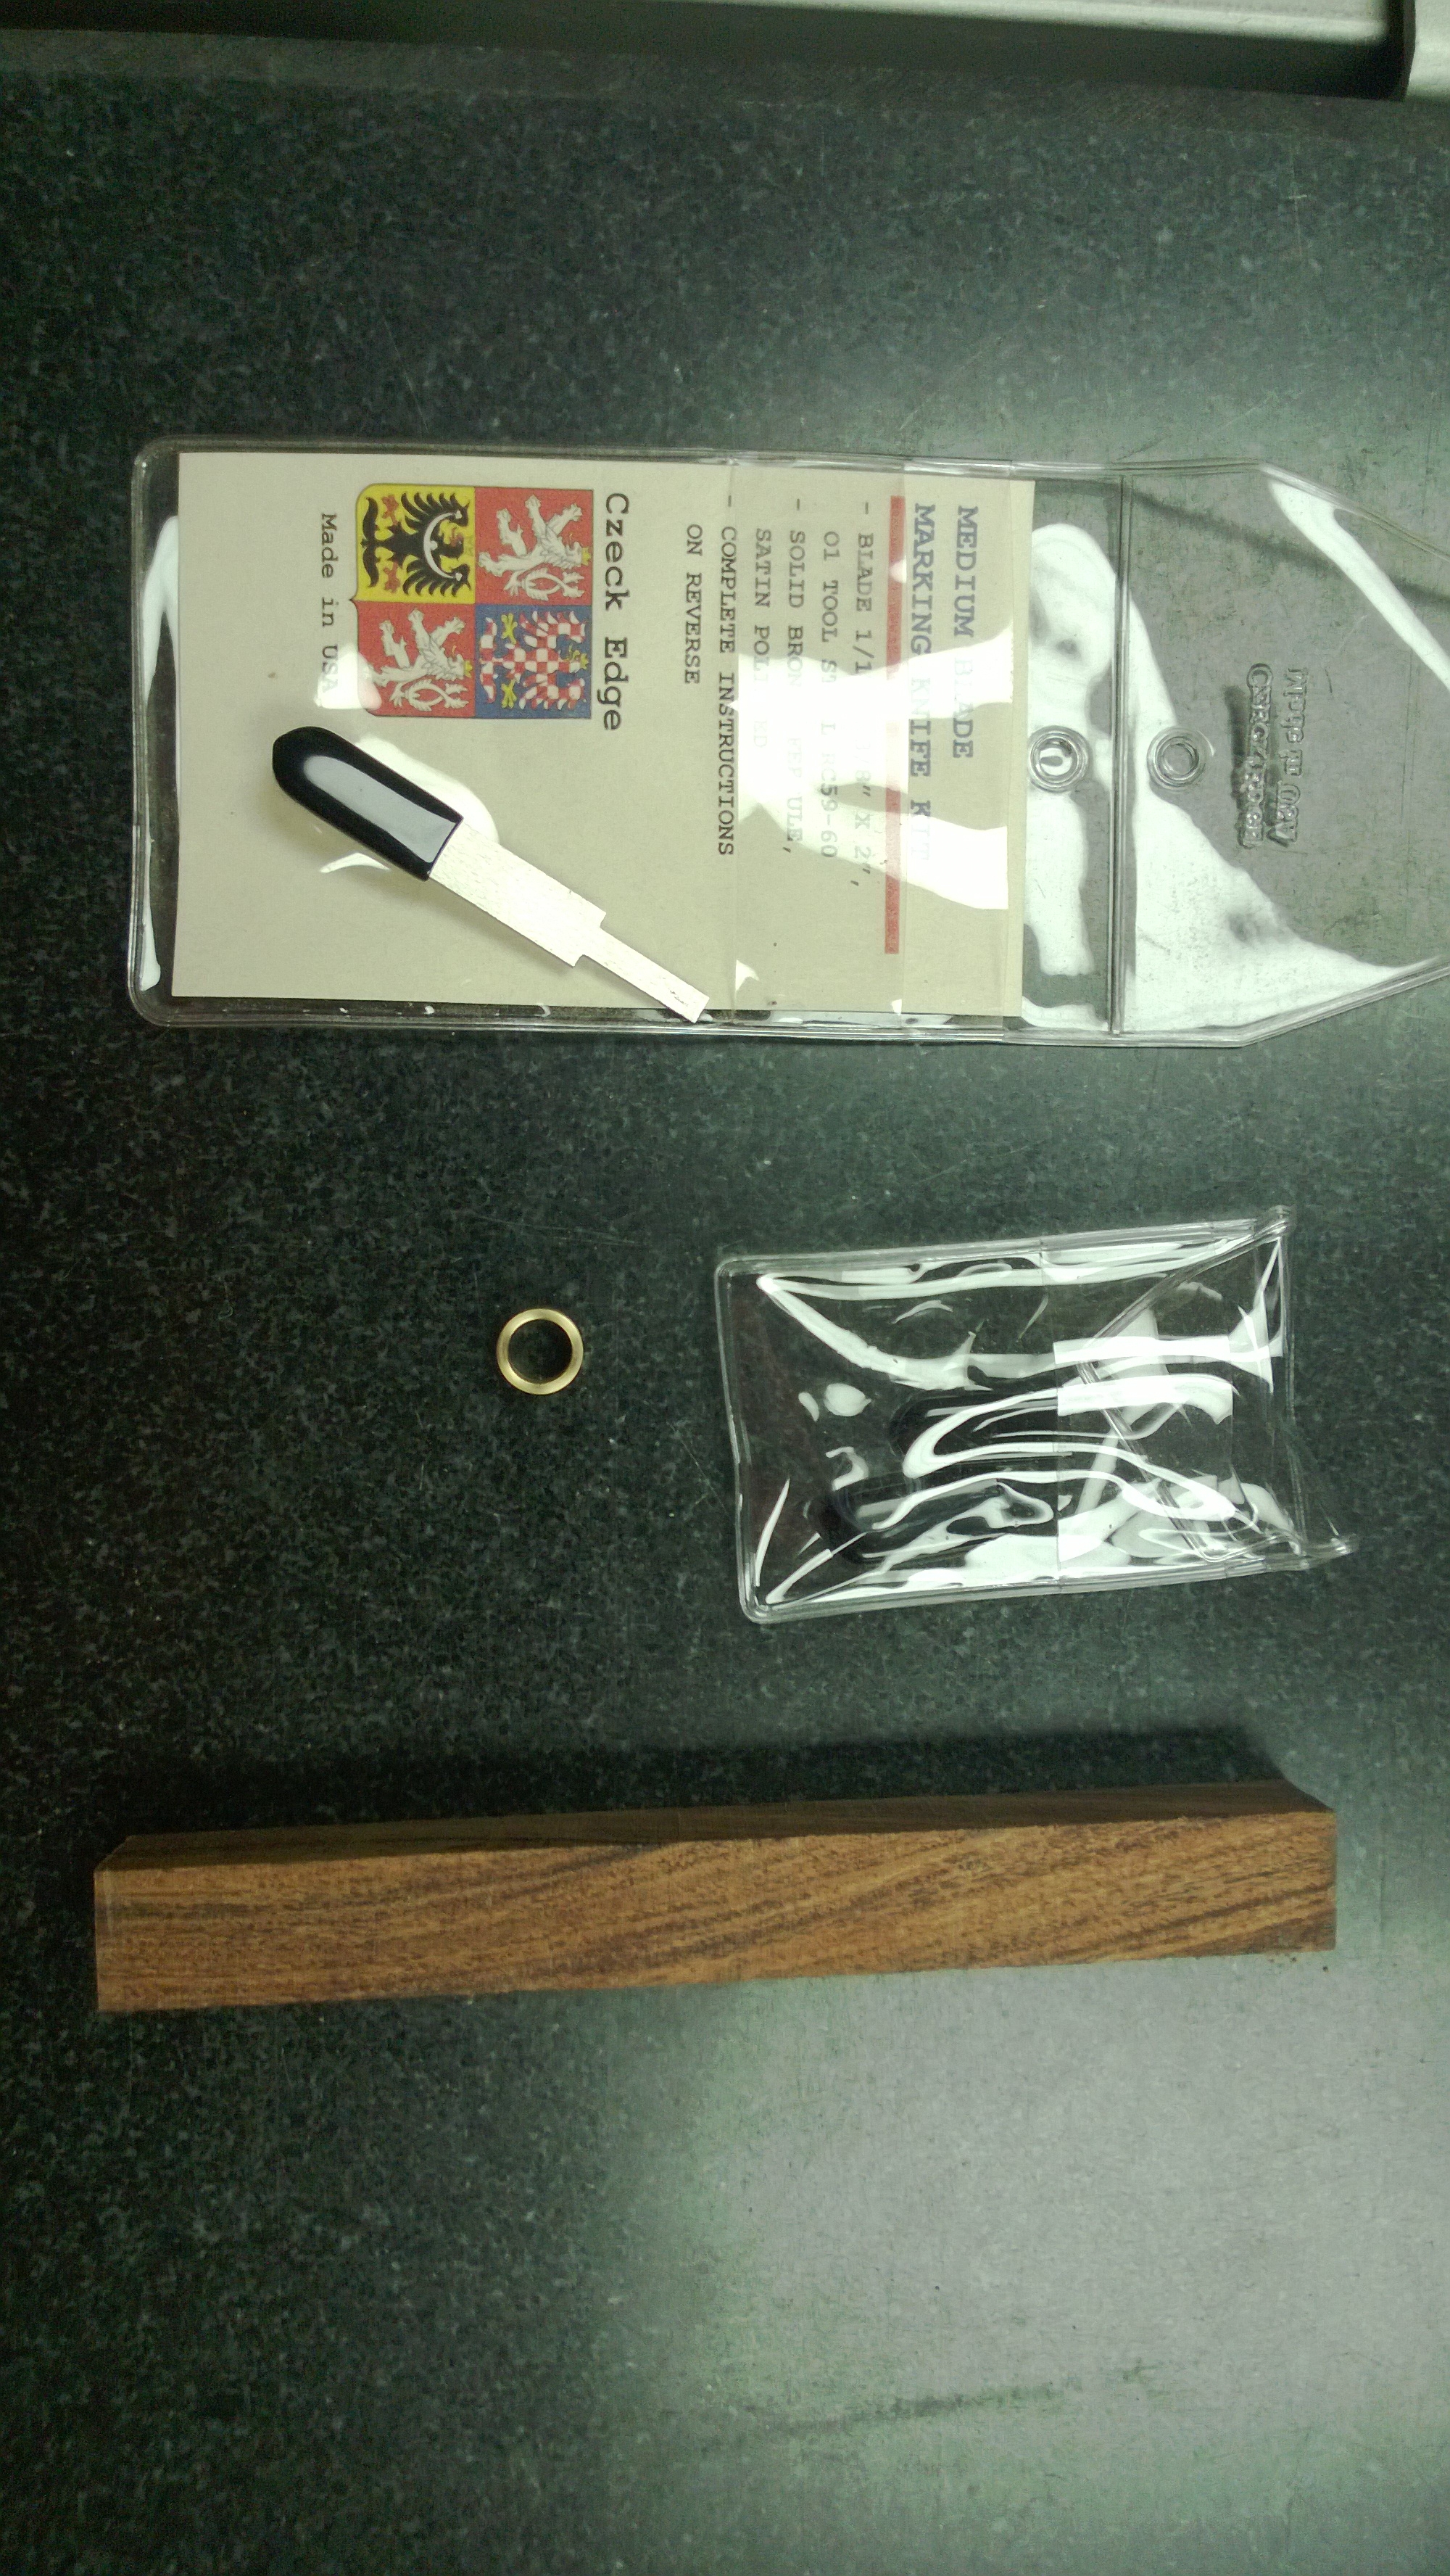
In spite of the chaos I’ve still managed to build a few things that might be blog worthy, so the first order of business is to get caught up. What’s in store? My workshop has been downsized, presenting several challenges and moving me closer to being an unplugged woodworker. Closer, but not unplugged entirely. Tools, including new ones from kits for the shop and the kitchen. Gifts, many of them turned. Furniture, just the tip of the iceberg so far but much more to come as I start building more for the home. Handtool cabinets to help my journey into handtool Zen paradise. Lastly I have many home renovation projects to do, but most of these will not involve woodworking beyond basic carpentry and will only likely get passing mention.
I’m eager to get back at it and hope that some of it will help inspire you to get out into the shop as well.
Ian